New Life

I’ve had this spindly-legged writing desk for several years.  It came to me in an off-white color, and I believe it was then that I decided to go with very very light robin’s egg blue instead.  Then add some random designs on the side.  Then cover all of that with black spray paint.  Basically, the poor guy had been through some dramatic changes, and was left with more layers than a croissant.  I actually forgot how much paint there was to work through until I began sanding down the top piece and drawer.  It was like an Everlasting Gobstopper!  Color after color!  I also discovered the wood is actually veneered, so if I wasn’t careful, I would sand right past it and, well, the underlying wood wasn’t nearly as pretty.

Image

After a light sanding of the body, and the drawer fully sanded.

This was my project on and off for a few weeks.  After some trial and error and lots of time waiting for things to dry, I finally finished!

Image

Surprise! The top flips up!

ImageImage

I learned a lot of lessons from this project, (particularly in the paint department) and while it isn’t perfect, I’m pretty happy with how it turned out.  I think I’ll keep it, if for no other reason than knowing it’s the first piece of furniture I fully re-did.

Sparkle…Always Necessary.

I was given a pair of shoes that I thought were terribly weird…in a good way.  However, as you can see they lacked a little…something.

IMG_5732Naturally my answer was to add a bit of glitter.  I used painter’s tape to mark them off.

IMG_5736Next came mod-podge (of course) and a layer of very fine black glitter.

IMG_5740I finished them off with another layer of mod-podge, and then two coats of sealant, because people tend to freak out if you leave a trail of glitter behind you (Also so the shoes are waterproof!).  The final product is a shoe that is still odd, but has just enough sparkle to leave you thinking “Yes, those work.”

IMG_5745Bam. Workin’ em.

Yes, I’m a luthier now.

I had the urge to refinish my guitar, so I went for it.  As it turns out, after I had started I was informed that my classical guitar was a gift from my Great-Grandpa to my Grandma in 1950…so yeah, there’s that.  No pressure.  But no worries, one of my roommates actually went to luthier school, so I had him as a supervisor.  Well, I’m not sure he had much power in the thing, more like I’d come up and say:

“This is what I’m planning.”

“I’m not sure that’s a good idea.”

“Well…I think I’m going to do it.  Thanks for your help!”

Anyway, I sanded it down, burned a design into it, stained it, then lacquered over it all.  Let your eyes feast upon the beauty! IMG_4734 IMG_4735 IMG_4737IMG_4790 IMG_4793 IMG_4795

My latest doings…

I’ve had several projects lately, some for work, some for play, and some out of plain ol’ necessity.  Let’s start with necessity.

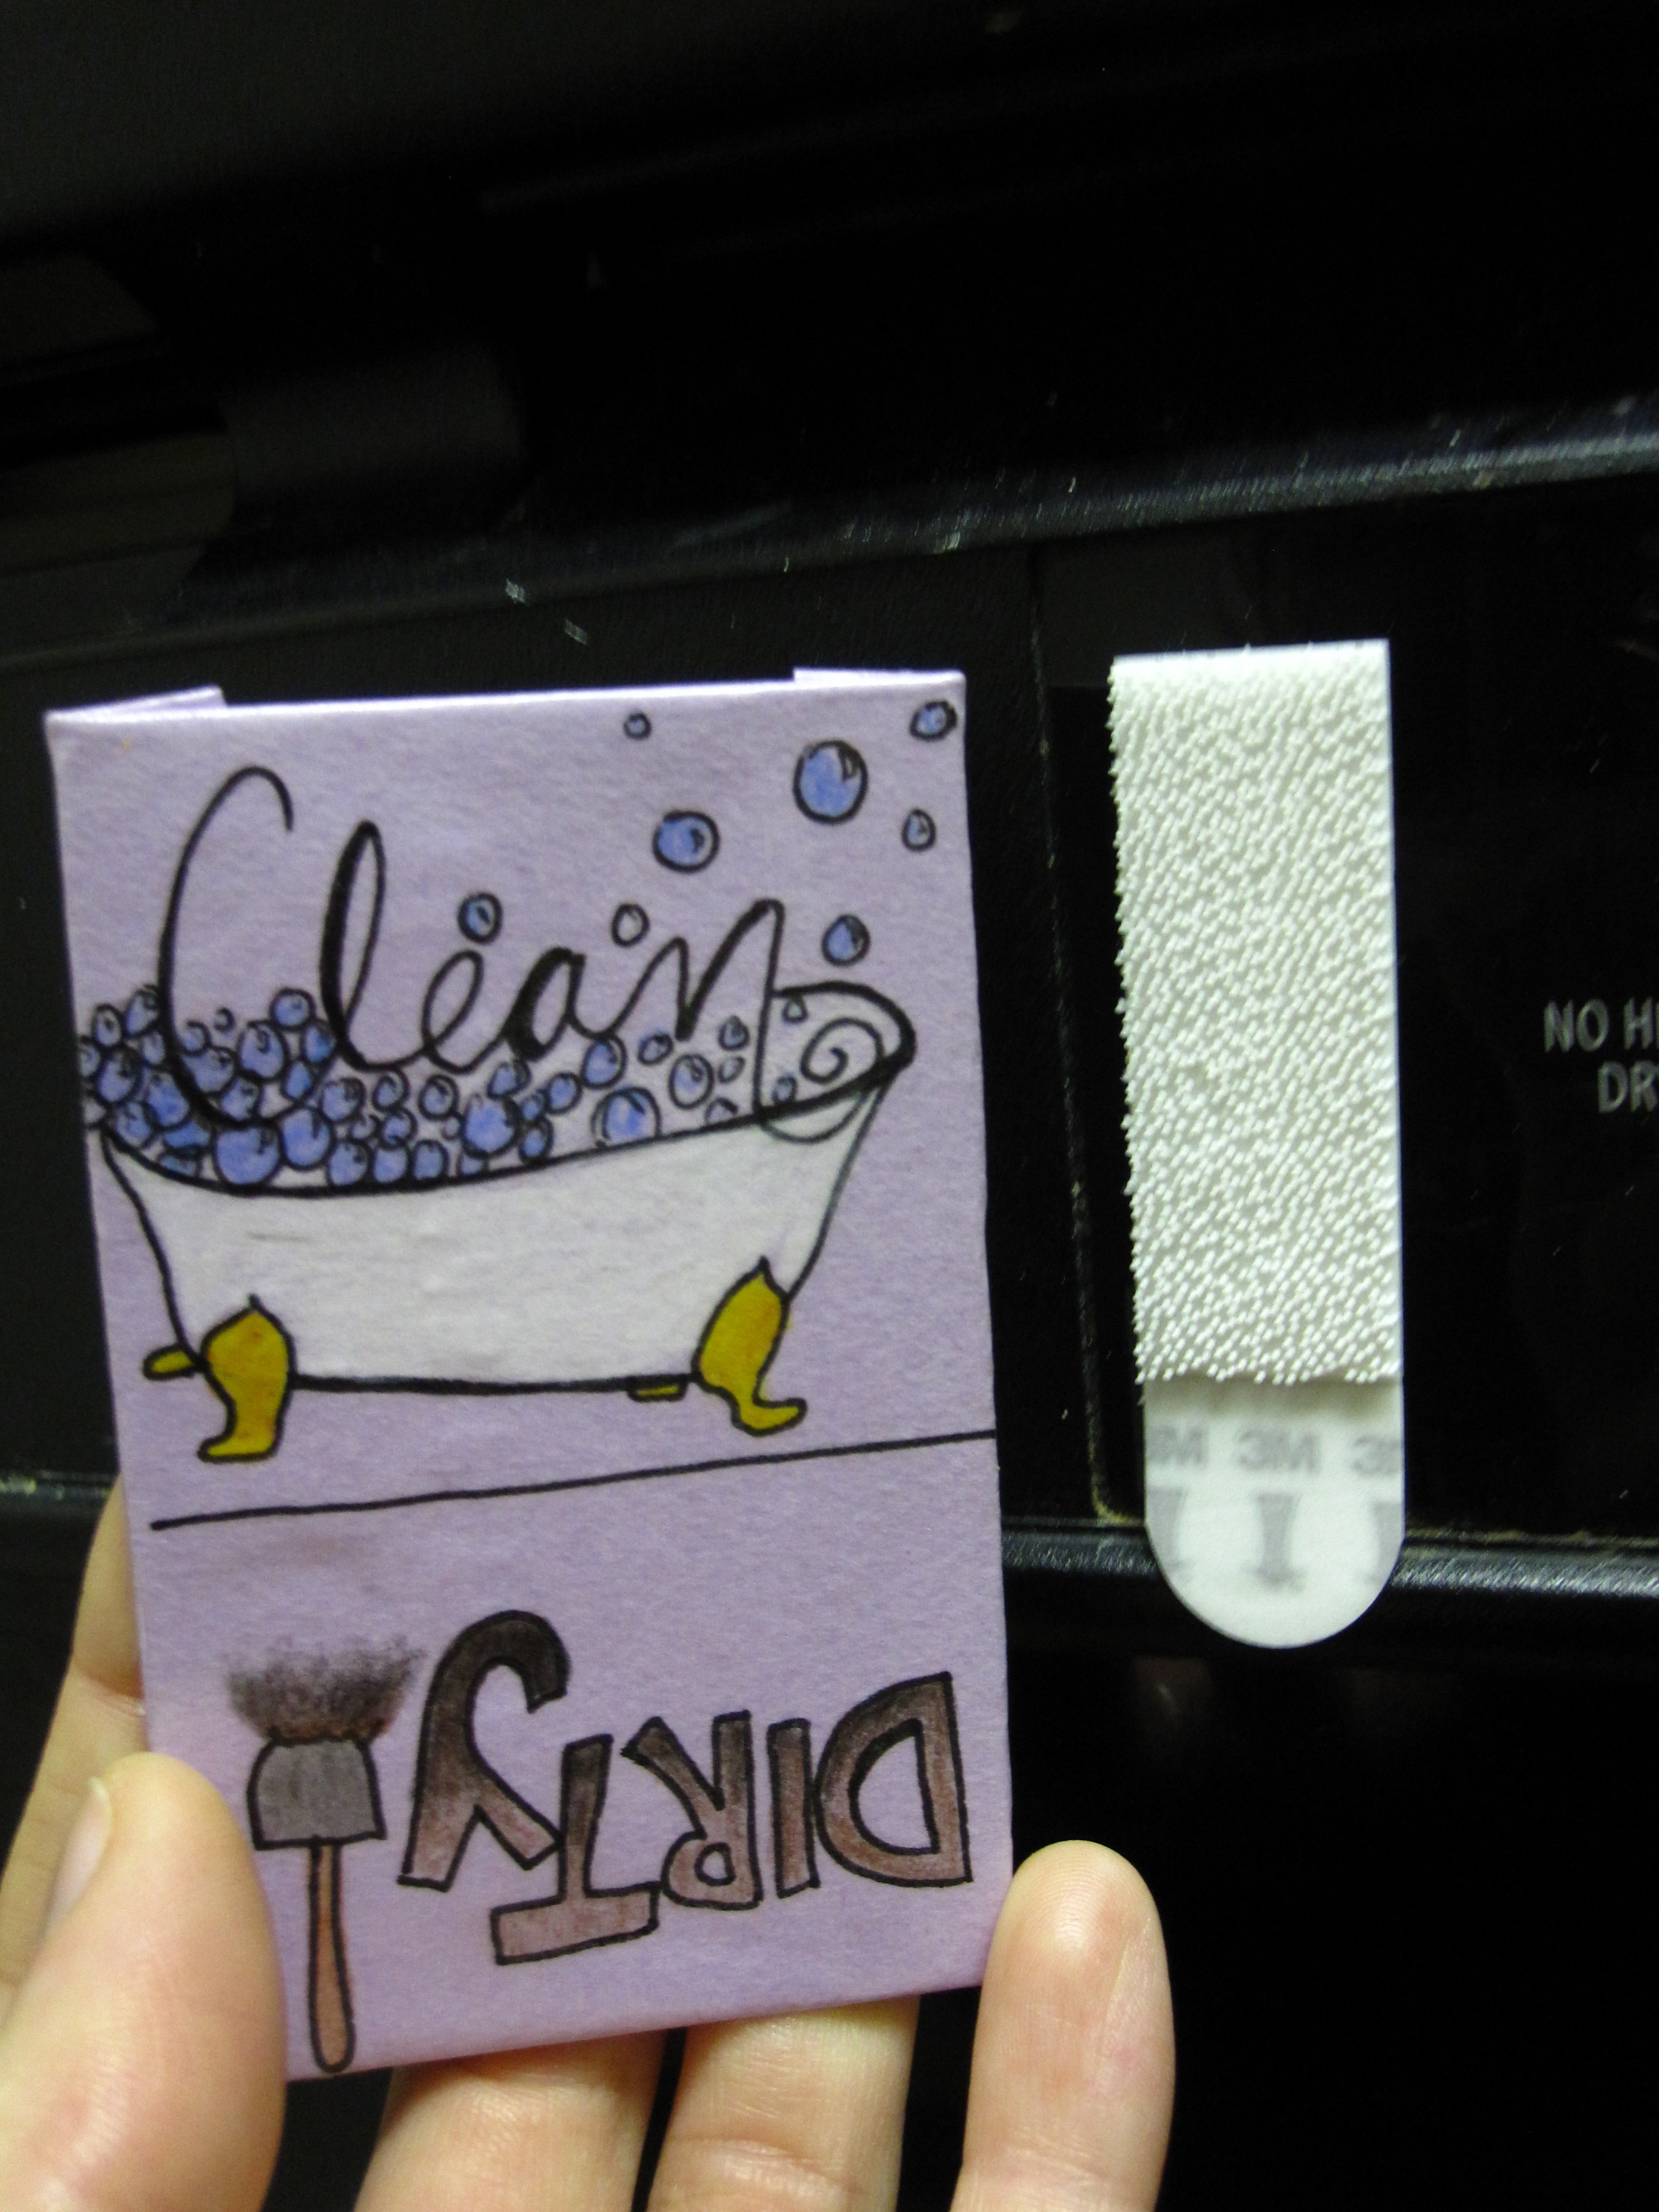
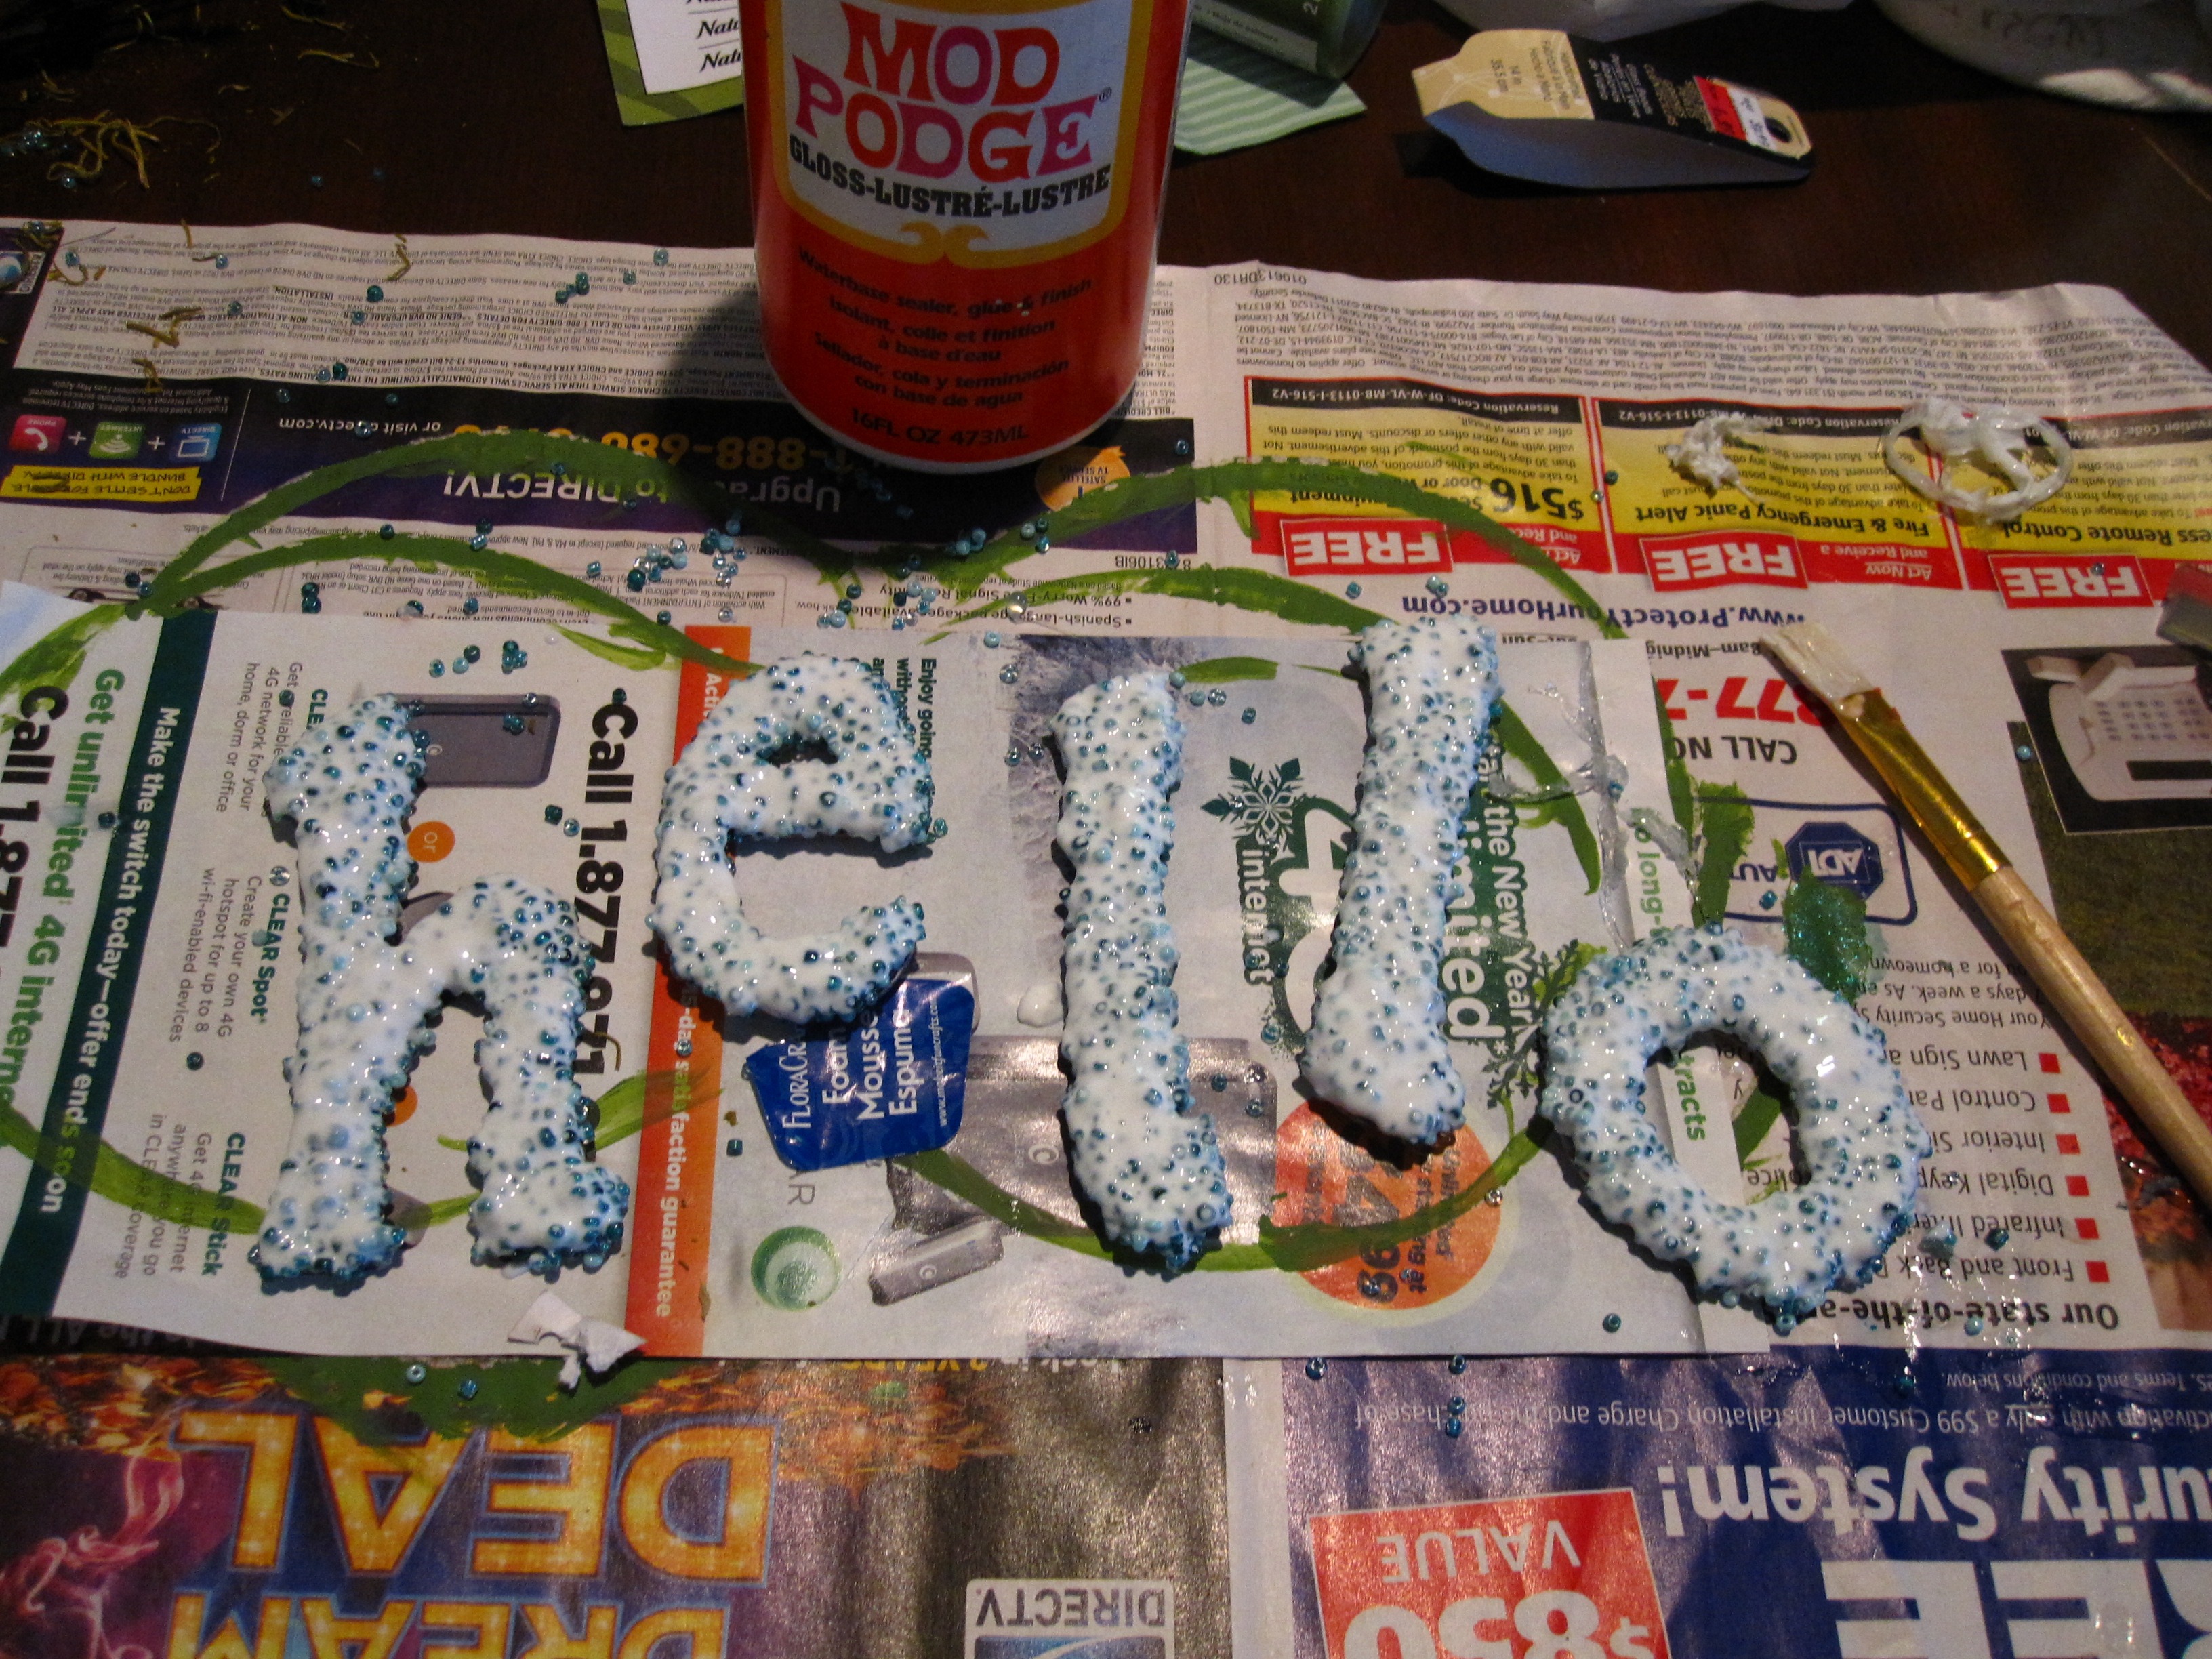
You know when you go to put a dish in the dishwasher, only you aren’t sure if the washer is clean or dirty?  Naturally, because you’re lazy, you assume it’s dirty and put it in there, only to find out from your roommate later that it was indeed clean, and now everything is going to be double cleaned.  Not that this has ever happened to me, but I decided to take preventative measures by making an easy to change, easy to read sign that let’s everyone know “Hey, these dishes are clean, and yes you did draw the short straw because now you get to put them all away!”  I wrapped an old credit/giftcard with paper, (using Modpodge of course) made an appropriate label for each, then modpoged over the whole thing and put a 3M picture hanging velcro on the back and one of the dishwasher.  Now when you set the dishes to run you simply flip around the sign and stick it there.  Magic!ImageWork-wise I made a few cakes the other week including…Imageand…ImageImageImageSo yes, I’ve done a few cakes lately, but I’ve also had some time to craft!  After all the Christmas decorations came down I realized something, my door is naked!  Without a wreath on it, a door is just…a door…very uninviting, so I decided it needed yearlong decoration.  I began with one of those traditional wreaths made of sticks and whatnot, added moss and some birds…Image…cut letters out of cardboard and modpodged seed beads to them…Image…and then put everything together with jute and hot glue.  I have to say, our door is a lot more welcoming now.  ImageI love it, don’t you?

The Time of the ModPodge

I bought a can of ModPodge recently at the store…and it has changed my life.  I’ve always heard of people using modpodge and loving it, but until recently had never experience it for myself.  I have to tell you, I’m on a rampage, a crafty rampage.  I just can’t stop.  First, I finally finished off the coffee table I found on the side of the road probably a year and a half ago.  It was missing the glass that goes on the top, so I decided wood would be an adequate alternative.Image

I taped it off in a chevron pattern (which, by the way, was not nearly as easy as I thought it would be), painted it a lovely yellow color, peeled off the tape…Image

…then modpodged over the whole thing.  I also used an acrylic sealer over that (modpodge brand) so the table would be waterproof.  After woodgluing the pieces in, I have a classy coffee table that actually serves a purpose because there are no longer two gaping holes in the top.

After the table, I moved on to a mirror I got on clearance at Target.  The thing was $4, stark white, a blank canvas begging to be used.  Again, yellow was the color of the day.  A quick couple layers of paint, some gold sequins, and modpodge of course, and now it’s a bright addition to my room.ImageImage

Classy, I know.  And for the record I don’t actually know the happy hikers in these photos, though I’m sure they are all lovely people.

You thought I was done didn’t you?  That I had done everything I could with modpodge right?  Wrong.  Next came a favorite headband.  This headband is a vintage, Italian leather, awesome headband that I may or may not have confiscated from my grandparents house a few years ago…anyway…the inner headband broke so it no longer actually held onto your head, so I ripped out the stiches…Image

…got a headband that I didn’t care about and scuffed it up with sandpaper…Image

…and modpodged the pieces together.  I then secured the pieces while they dried with hairclips, because I’m not afraid of being as ghetto as it takes to get things done.  Good as new.Image

My final modpodge project to date?  Shoes.  I got boring black heels from Walmart, and added glitter.  I’ll let the pictures say the rest.ImageImageImage

I had the classiest clad feet at the opera I assure you.  (Did I mention I saw Aida?  Fabulous!)

“Sassy” Brownies

I stumbled upon a recipe the other day for “sassy brownies” except instead of saying sassy, it was something that implied the brownies were loose morally and promiscuous…anyway.  Basically they were a layer of chocolate chip cookies, oreos, then brownie to top it off.  I had no oreos, but I decided to go for it.  I layered cookie dough, which I conveniently already have made and pre-portioned in my freezer in the event of a sweet tooth crisis…Then made and poured brownie batter over…then went outside whilst it baked for about 30 or so minutes.

and after allowing it to cool they came out thusly…Overall, not bad, but I will say mine weren’t as pretty as the original.  Also, I didn’t spray the pan with nonstick spray because I figured usually cookies are oily enough not to stick, but believe me, they held onto that pan like Rose clung to Jack in Titanic. (AKA, thought they would never release, but with enough poking and prodding they totally let go and Ms. Pyrex left Mr. Brownie to die in the ocean that is my stomach acid.  Wow, that was surprisingly graphic, but what can I say, Rose really upset me by letting go, and they totally could have both fit on that door if they’d tried.)

Mmm mmm, good.

As I was perusing pinterest today, I started to get that itch, you know the one, the crafty itch.  After looking at so many pictures of cool creative things you just have to get out there and do something yourself.  Of course I’m in the process of moving, so nothing too big and artsy, I don’t want to use the oven cause it heats up the house, and at the time I was starving and parched.  So I went to the fridge, or more specifically, the freezer.  I’m notorious for freezing things when I’m worried they’ll go bad before I can use them, so the freezer is full of assorted fruit (and gravy and biscuits, but that’s not relevant).  I toss in a few cubes of frozen pineapple, strawberries, and blueberries, then a can of Sprite Zero (not located in the freezer) into the blender.  Blend and voila, an easy, refreshing way to spruce up a hot afternoon.

I’m sure this has been done before, but nevertheless it was delicious!

Image

Truly Truvia

I have a group of friends who are somewhat health freaks (the kind that go on juice fasts or give up meat for random periods of time), and one of them, Ben, has always wanted me to make “healthy cookies”.  Naturally I was in no hurry to do this because why would I want to mess with a good thing by taking sugar (aka, goodness) from it?  However the other day I was greeted by Ben handing me a bag of Truvia baking blend stuff.  Challenge accepted.  I first tried Truvia’s recipe for chocolate chip cookies.  It involves rolled oats…but I used what I had, quick cooking oats…bad idea.  They turned out a lot like you’d imagine a cookie made of cornmeal would be…bleh.  I was disheartened by this failure, and completely out of chocolate chips.  After a few days, I braved the store for more chocolate and decided I’d just convert my favorite cookie recipe to have Truvia in it.  The Chewy by Alton Brown.  That man…is a brilliant brilliant creation of God.  Seriously, everything he makes is magnificent, make his chocolate chip cookies and you’ll realize what I’m talking about.

Beside the point though, I began by doing the conversions thusly:As you can see there was quite a bit of math to be done because there’s Truvia, then there’s Truvia baking blend, two completely different beasts number-wise.

The cookie dough came out looking normal…

…and it tasted okay, but had that  slight “fake sweetener” thing going on…

Then I baked said dough and was disappointed to see they stayed just as they were placed, little puffy bites.
I decided to press down the rest of them so they’d be a bit less puffy, and my final product looked something like this:

My opinion of these?  Really not bad.  I’ve had some pretty nasty Splenda and Sweet N’Low cookies before, and these were nothing like that.  The texture is different, not quite as chewy, but there’s no disgusting aftertaste, or if there is it’s hidden by chocolate chips.  They tell you to leave some regular sugar in the recipe for stability’s sake, so I left 1/2 C.  I was able to cut out a whole cup of sugar though, so there’s that.

Just as a side note, you know who was absolutely no help throughout this adventure?  This kid:…mostly because this is what she was doing the whole time:

Did I mention I got a dog?

All Good Things

Today I decided to use all of the tasty things in the fridge to create a lunch worthy of envy…actually I was just hungry and grabbed everything I found, but not the point.  I’m a huge fan of thin crust pizza, the crunchier the better, so I toasted a spinach herb tortilla, topped it with a can of chicken mixed with BBQ sauce, added tomato, onion, pepper jack cheese, bacon, and a HEFTY bunch of cilantro.  My heavens it was good.  You’ll notice in the picture that one side is perhaps a little more brown than it should have been, but as I said, crunchier the better, so no big loss.

Cowboy Class

I did indeed finish the cake I made those flowers for, but not without some procrastination of course!  I waited till the day it was due (at 1pm) and only had the cakes baked and flowers made, so I had to make icing, assemble, ice, and decorate ALL IN ONE MORNING!  Did I mention that the cake was being delivered to a location one hour away from where I was?  Yeah, not my smartest move, but it was done!

I was also a little freaked out because the bride said her colors were bright yellow, and eggplant purple, (“Like, you pick up an eggplant and that’s the color.”) but I couldn’t find eggplant food coloring so I was working with violet and brown trying to make it.  However, as soon as we (Yes, my friend Robin was kind enough to drive me and the cake to the middle of nowhere; she’s great.) pulled up to the wedding, the decorations were telling a distinctly different story.  Her colors were NOT bright yellow and eggplant, they were bright yellow and purple.  Perhaps the original intention was eggplant, but it was definitely executed as straight up purple.  Worked for me since I never could really reach eggplant despite my different color concoctions.

Anyway, I was really pleased with how the topper and everything came together, so here’s the cake!  Voila!

And a little side action…

…and one more cause I just can’t resist!